

Last updated on
December 16, 2023
There’s never been a better time to focus on improving the page speed of your Shopify store:
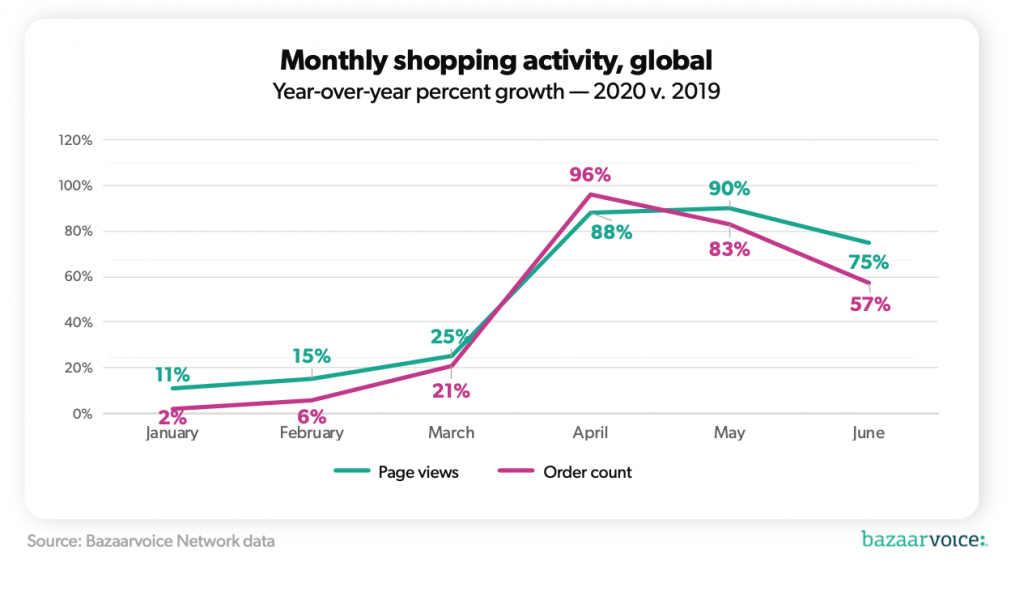
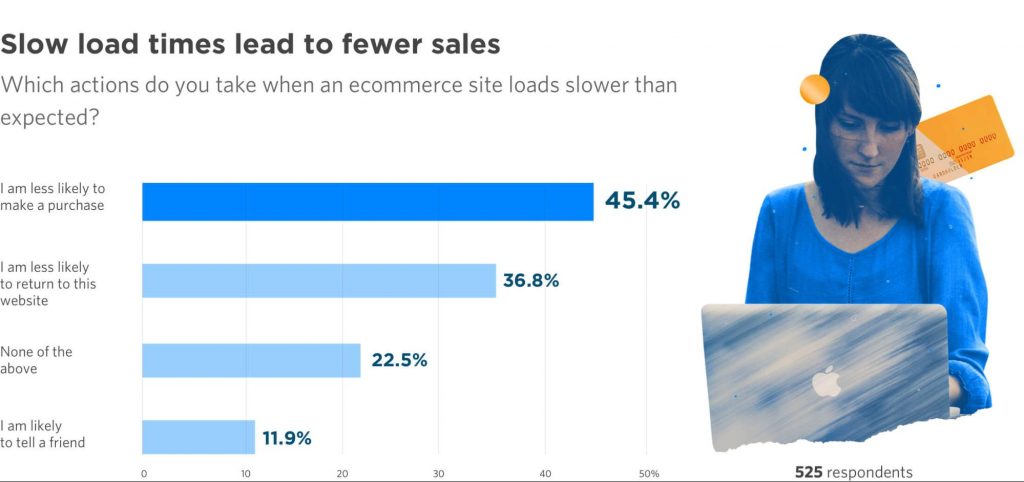
(Image source: Unbounce)
These are three great reasons to optimize your page speed right this minute.
And we’re here to tell you how to do it. We'll also go into more detail on the benefits it will bring. In this article, we will look at 3 simple yet effective ways to improve your site’s load speed:
Let's get right into it.
In a typical eCommerce store, image files account for roughly 50% of all the data. So, if you can reduce the size of these files, you can significantly improve your site's speed.
And this is true whether you're a small boutique store or you have a huge inventory with thousands of images on your site. A Shopify store specializing in environmentally-friendly fashion cut their overall load time from 4.7 seconds down to 1.1 seconds by optimizing 860 images on their site.
But how do you go about optimizing your images for page speed?
Let's take it step by step.
While the end goal of image optimization is to make the files small, it's a good idea to start fairly big. In other words, create your images with enough pixels that it is possible to compress the image and still ensure quality.
In summary, unless you have specific requirements for either high or low-quality images, create your images using 2048 x 2048 px as your benchmark.
Although Shopify allows you to upload JPG, PNG, and GIF files, you can rule out GIF immediately. The quality is simply too low.
Here are the main advantages and disadvantages of the other two file types:
A final option is progressive JPEG files. These load gradually, and can therefore help pages to load faster. Users initially see a low-quality image, which gradually transforms into a high-quality one, just like this:

(Image source: Liquidweb)
In summary, your default image file type should be JPG, as it offers the best balance between size and quality. If you expect to have fewer images and need them to be very high quality, choose PNG. And if you have a very high volume of images, consider Progressive JPEG files.
This is the third and final step, and it's also the most important one. Whatever pixel size or file type you choose, you will have to further reduce the size of your image files to get your site running quickly and smoothly.
We'll take a look at what Shopify does to reduce image file sizes. Then we'll see how an app can help you bring down image weight. Finally, we'll consider reducing images manually.
Shopify has a clever trick up its sleeve. It can automatically convert JPG and PNG files into WEBP files, a file type specially developed by Google that is up to 30% smaller than JPG or PNG but with equivalent quality.
But there's a catch. Two major web browsers, Safari and Internet Explorer, don't support WEBP files. So in these cases, Shopify maintains the original JPG or PNG file.
A word of caution. If you're tempted to convert all your image files to WEBP format before uploading them to Shopify, DON'T. If a shopper is using Safari or Internet Explorer to view your site, they won't see any images at all.
Shopify's efforts are definitely helpful, but they're just a starting point. To really bring up the load speed of your site, you're going to need an image compression tool. The tool you choose should be:
- Built for Shopify. As we've seen, Shopify has its own practices when it comes to image optimization, so you want to be sure the app you're using takes these into account.
- Affordable and well-priced. Image optimization isn't expensive. Look for 12 or 24-month plans that offer lower than $0.125 per image.
- Smart enough to do SEO tasks too. The better apps out there will also be able to offer SEO services like automatically optimizing Alt attributes on your images. So you get faster loading pages and improved SEO.
- Always running in the background. Your app should automatically optimize any new images you add to your store.
- Customer service-oriented. Image compression should be a straightforward process, but depending on your store's size and setup, you might need additional help. So, choose an app that offers 24/7 support.
One Shopify app that offers all of these benefits is TinyIMG. It has a track record for helping Shopify stores drastically improve their site performance through image optimization, going as far as reducing the load time from 3.4 seconds to 0.9 seconds for a customer.
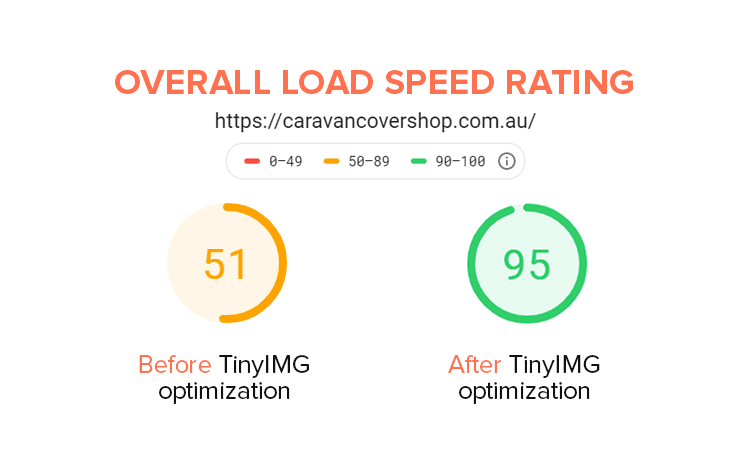
(Image source: TinyIMG)
Other stores have seen load times drop from 4.7 seconds down to just 1.1 seconds, or have been able to save 550MB and get their product pages loading in just 0.7 seconds.
You can also manually reduce image file sizes. But only consider this if you have a very small number of images and know how to use design tools like Photoshop. Or you’ll be losing a lot of time over this.
To do the job manually:
Image optimization is all about making the file size smaller. In contrast, lazy loading is about how your images are loaded, and in what order.
Lazy loading is a programming technique where the loading of an object is delayed until it is needed.
With images, it works like this:
Here's how lazy loading images go from low to high resolution as the user scrolls down the page
(Image source: Shopify)
So, imagine that a user arrives on your homepage. The images that they can see are loaded as usual. But all the images below the fold, which aren’t in the user’s vision, load at low resolution.
This step-by-step Shopify tutorial on lazy loading your images will take you through all the coding steps you need to follow. Additionally, keep the following tips in mind when lazy loading your images:
Our first two strategies for improving load speed (image optimization and lazy loading) have focused on images. That's because making image files smaller will have the biggest impact on page load times.
But there are other elements on your site that you can optimize too, such as CSS.
CSS files are text files that work with your HTML code to make page design simpler. The Shopify theme you use will include CSS files.
Minifying CSS means compressing CSS text files by removing any unnecessary characters, like spaces and comments. It also includes combining common styles, which reduces the amount of text needed.
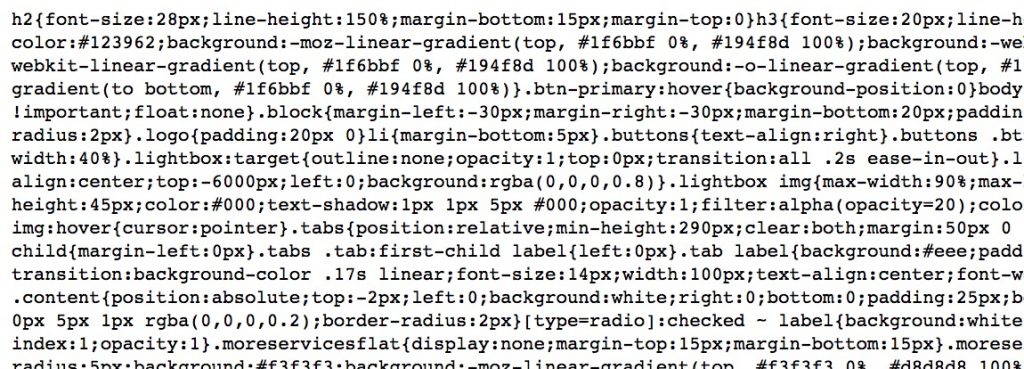
Here is some standard CSS code:
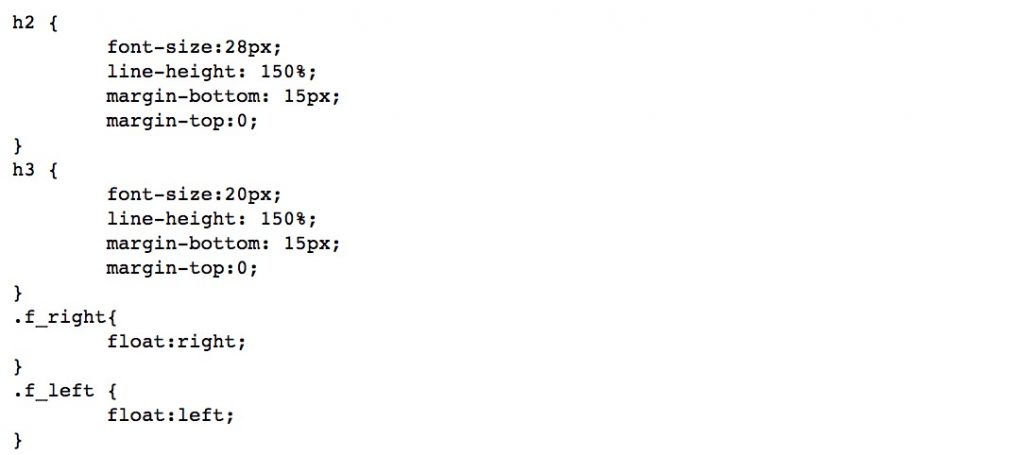
And here’s its minified version:
It's only advisable to minify your CSS code if you feel confident making changes to your code. While the changes are not difficult, it's important to be able to recognize what normal code looks like so you can tell if you have made any mistakes during the minification process.
To minify your code:
Because CSS files are smaller than image files, minifying CSS will have a less noticeable effect on page load times than image optimization or lazy loading. So you should prioritize those first.
Nevertheless, if you feel comfortable diving into code, minifying CSS is a straightforward process that you should be able to do fairly quickly once you get the hang of it. Research by Google shows that decreasing mobile site load times by just one-tenth of a second results in major performance gains. In Google's study, conversion rates went up by 8.4% for retail stores.
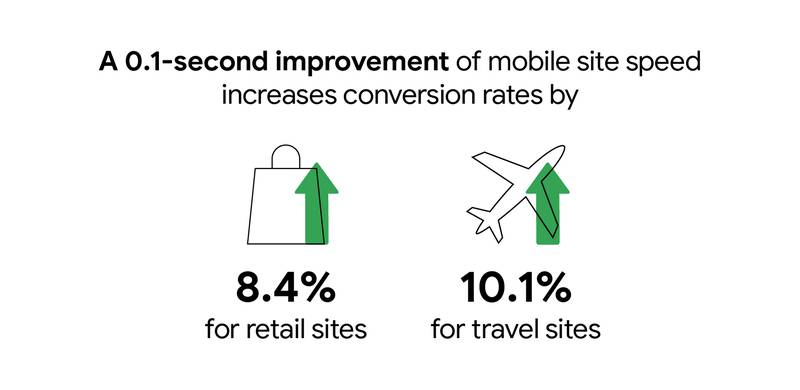
(Image source: Google)
And increasing conversions is a really big deal. Too many Shopify stores focus their growth strategy purely on getting new traffic to their sites. That's why ad spend is the single biggest marketing expense for most Shopify stores.
But investing in improving conversion rates is the way to go because it helps you generate more sales from the traffic you already have so you can make actual money. Along with making your pages faster, there are a number of highly effective strategies Shopify stores can use to improve their conversions.
We've gone through three simple techniques for faster page loading. So, what benefits can you expect to see on your store once you have implemented them and your pages are loading faster?
In the increasingly competitive world of online retail, user experience matters a lot. Here are some statistics on user experience that should get you thinking:
Google cares a lot about page speed. Why? Because Google users care a lot about page speed as well.
In 2018, Google made page speed a key factor in mobile search criteria. In other words, Google started rewarding sites that loaded faster with better rankings on mobile search.
And next year, Google is going even further and putting page experience right at the heart of SEO. Google will launch a new page experience index in 2021 that will place higher importance on factors like:
This means that if your page speed is poor, you might experience a big drop in your search rankings next year as Google makes the expected changes. It’s best to prepare for it now.
We hope we have shown that improving your page speed is well worth your effort. Three simple, cost-effective techniques make this possible - image optimization, lazy loading images, and minifying CSS.
Let's leave it to Google to conclude this article. Google believes better page experiences accomplishes two business goals:
Optimizing for these factors makes the web more delightful for users across all web browsers and surfaces, and helps sites evolve towards user expectations on mobile. We believe this will contribute to business success on the web as users grow more engaged and can transact with less friction.
Content marketing guru at Mailmunch. I’m passionate about writing content that resonates with people. Live simply, give generously, stay happy.
Tags:


.png)
Aqsa Mughees
September 22, 2021

Rukham Khan
May 3, 2021

Rukham Khan
March 16, 2021


