

Last updated on
October 1, 2026
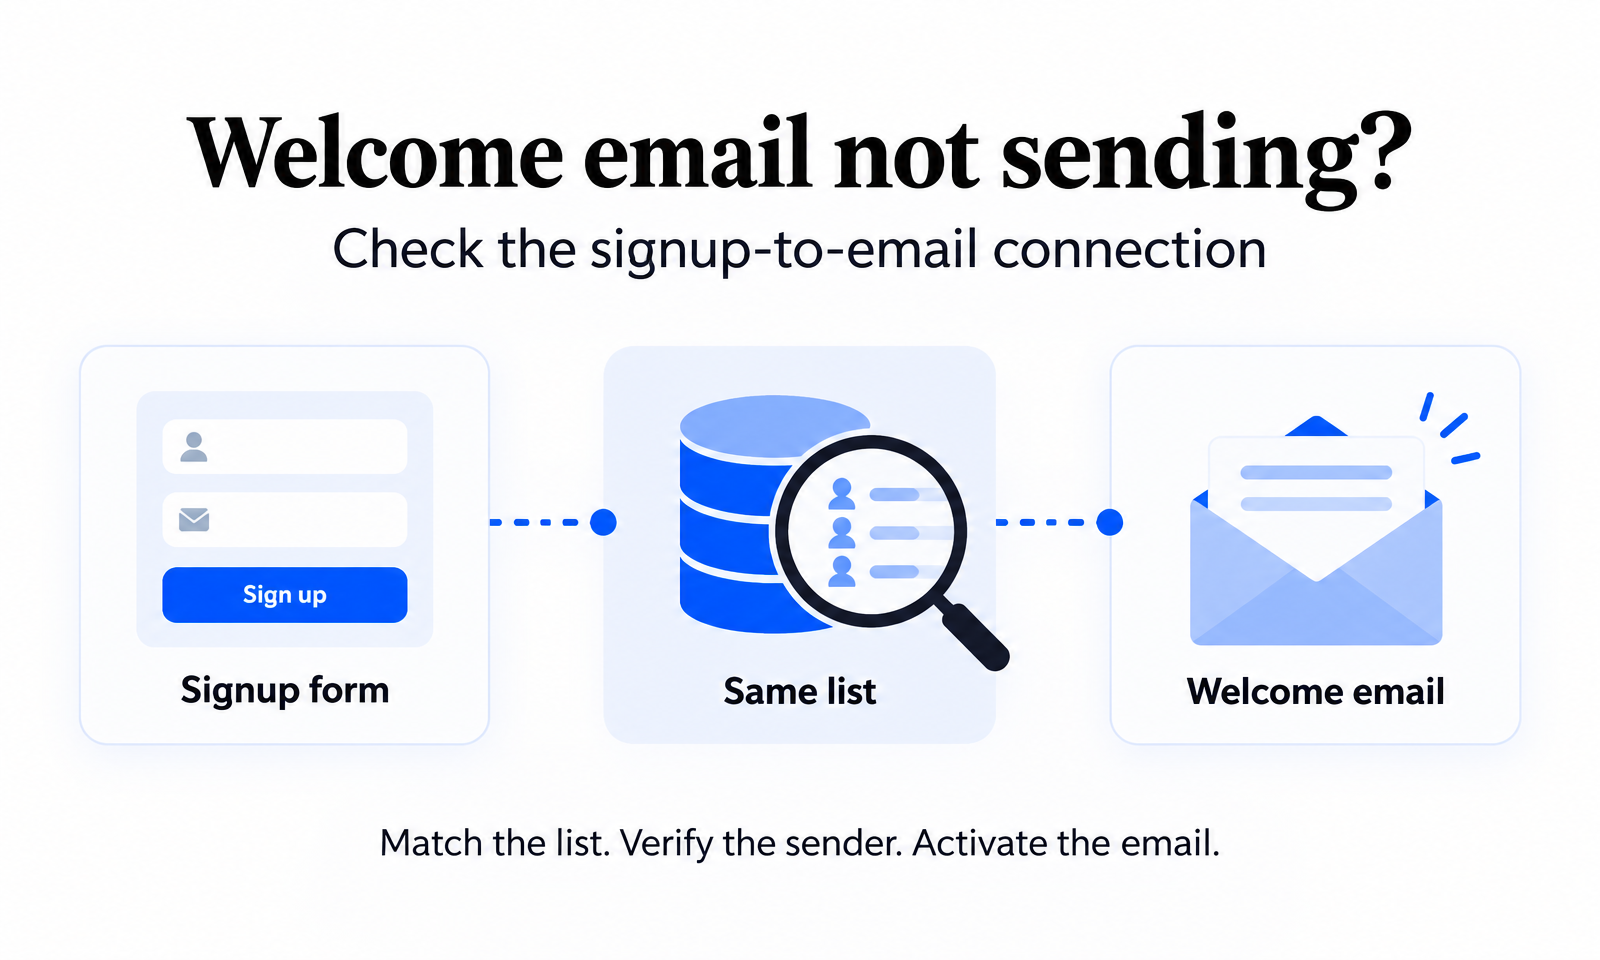
If your Mailmunch welcome email isn't arriving after signup, start by checking that your form's subscriber list matches your autoresponder's audience. Then check that the form is published, the sender address is verified and the autoresponder is activated. Mailmunch's official signup-to-email guide explains that the shared list connects your form or landing page to the email sent after subscription.
Work through that connection before rewriting your message or building a replacement campaign. This checklist takes you from a visitor's signup to a welcome email with a useful next step for your store.
First action: compare the list selected for your form with the list selected in your welcome email's Audience step. They should be the same list.
Mailmunch's form setup guide says to select a subscriber list when creating the form. Its welcome-email connection guide says to select that same list for the autoresponder audience. For an automation sequence, the list trigger should also match the form's list.
Here is a complete example you can adapt without a discount code or another tool:
| Part of the setup | Example to use |
|---|---|
| Form's subscriber list | Store newsletter |
| Welcome email's Audience | Store newsletter |
| Email subject | Welcome—find your next favorite |
| Preheader | Thanks for joining. Explore our latest collection. |
| Sender name | Your store's name |
| Sender address | An address you control and have verified in Mailmunch |
| Email message | Thanks for joining our newsletter! We're glad you're here. Take a look at our latest collection, and reply if you have a question about choosing a product. |
| Primary button | Explore the collection |
| Button destination | The live collection page you want shoppers to visit |
“Store newsletter” is an example list name, not a special Mailmunch setting. Use the actual list intended for that form.
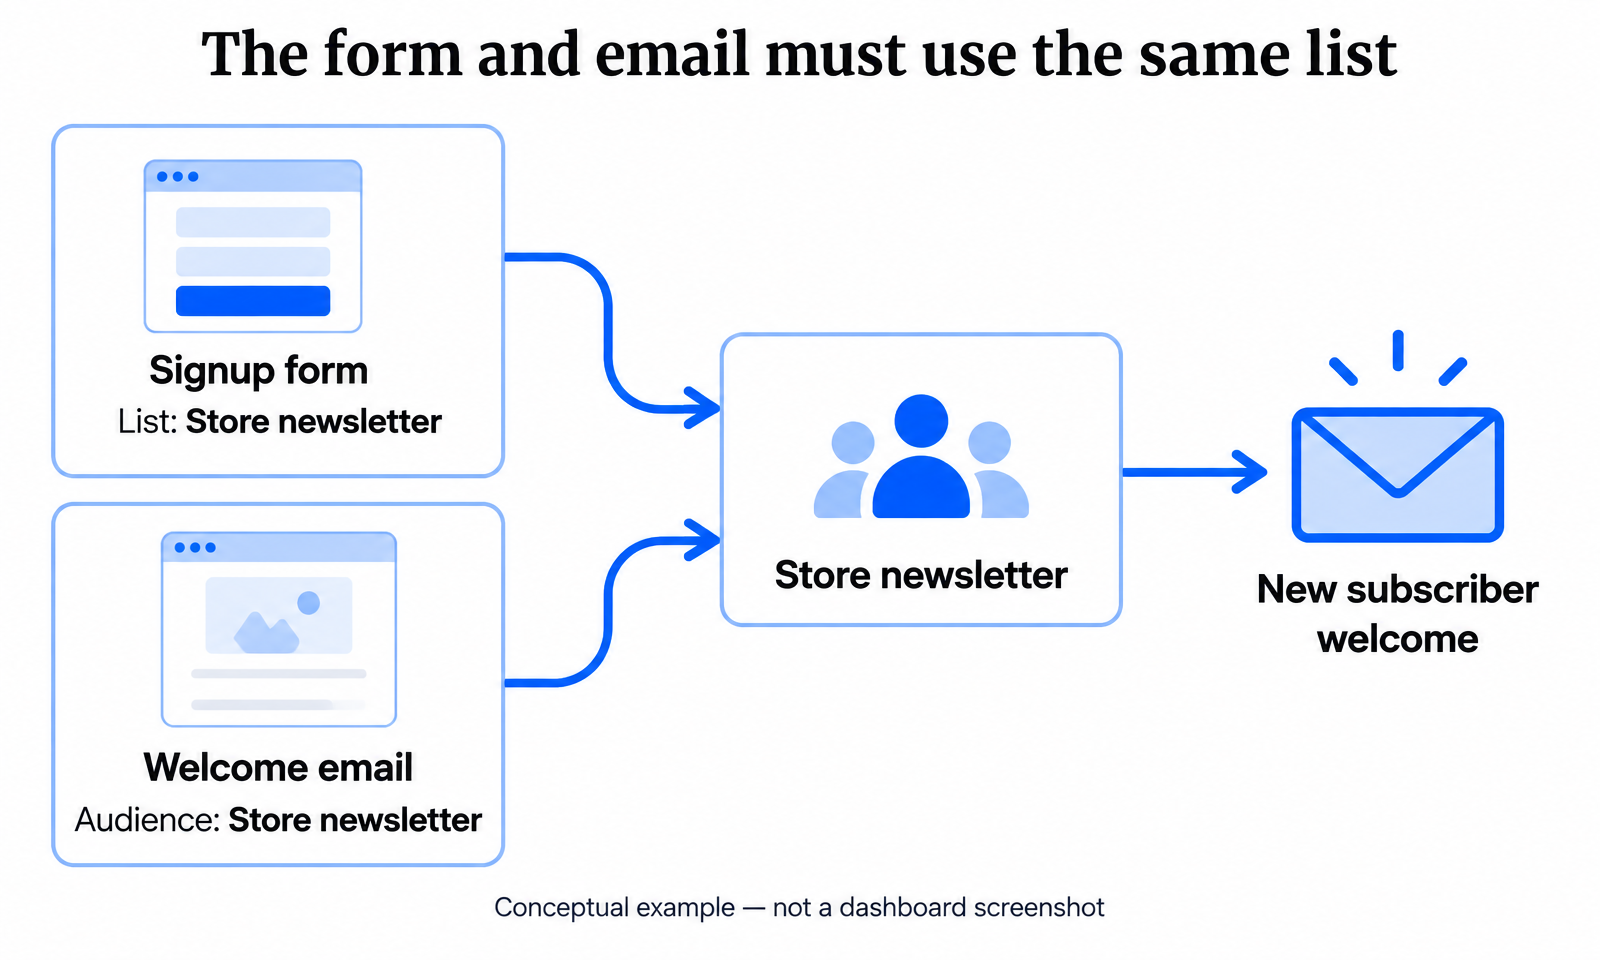
Open the form you're investigating and note its selected list. Then open the matching welcome email and compare its Audience selection. If they differ, correct the connection for the intended audience before your next signup check.
When you have several forms, make a separate note for each form-to-email pairing. Mailmunch's autoresponder guide documents assigning different lists to different forms and selecting those audiences for different autoresponder campaigns. Don't assume every store popup should feed the same message.
Check the form separately from the email. The form is your starting point: the signup-to-email guide describes contacts subscribing through a form or landing page before receiving the connected email.
For a popover form, Mailmunch's official setup instructions say to turn Publish this form on and click FINISH to activate it. The same guide explains that display on page load or exit depends on the form's Behavior settings.
Visit the store page where you expect that form to appear. Follow the behavior you've configured rather than assuming the popup should appear immediately. If you can't reach the form, investigate its publication and display settings before troubleshooting the welcome email.
For an existing campaign, check what is already configured before making changes. You don't need to create another popup simply to compare its list with the email's audience.
For a single welcome message, Mailmunch's Designing an Autoresponder Campaign documents this creation path:

Use that path if you need a new welcome campaign. If your autoresponder already exists, open it and inspect its settings instead of starting over.
Keep the diagnosis narrow. Your immediate goal is one signup producing the intended welcome message. A multi-email journey can come later. Mailmunch's connection guide supports either an autoresponder or an automation sequence, but their connection settings should be checked against the setup you're actually using.
Review the Subject step of your autoresponder. The official autoresponder guide puts the subject line, preheader and sender information in this step.
It says verified email addresses are available in the sender dropdown. If you don't have a verified address available, enter an address you control and press Enter. Complete verification using the email sent to that inbox, then select the verified address from the dropdown.
Use a sender name your subscribers will recognize, such as your store's name. For the example above, keep the subject and preheader simple while you investigate the connection. You can refine the copy once you've checked the signup path.
If you use personalization, inspect its fallback as well. The same autoresponder guide documents default values for missing personalization fields. Preview a message that still reads naturally when someone provides an email address but no name.
A verified sender and a polished subject are separate checks from audience selection. Don't stop after one setting looks correct: compare the entire form-to-email connection.
After checking Content, Subject and Audience, review the campaign's sending settings and final preview before activation.
Mailmunch's autoresponder guide documents an Activate button followed by START AUTORESPONDER. It also documents SAVE DRAFT as the option for keeping the campaign as a draft.
If you've only saved the message as a draft, return to the campaign, review its intended audience and settings, and complete activation when you're ready to use it. Don't activate an unrelated email just because its title sounds similar.
Before pressing an activation control, write down the form name, list and email campaign name. This gives you a clear reference for your next signup check and helps prevent troubleshooting the wrong pairing.
Check the email itself before checking the signup trigger. Mailmunch's autoresponder guide says the Review step includes a SEND control for sending a test email to the address configured as the sender in Subject settings.
Inspect the received message rather than stopping at the on-screen preview:
Check the inbox and other mail folders for the expected subject. If you can't find the test, record that outcome separately from a failed signup-trigger check.
Treat these as two different questions: “Can I receive the campaign's test message?” and “Does a new signup produce the connected welcome email?” Follow both steps rather than using the review test as your only check.
Once you've reviewed the form, shared list, sender and activation, walk through the experience as a subscriber.
Use an email address you control that hasn't already joined the list. This keeps your check focused on the new-subscription path described in Mailmunch's signup-to-email guide, rather than a repeat submission.
Follow this checklist:
Write down what happened at each step. If you can't find the address in the intended list, return to the form-to-list connection. If the address is there but the email is missing, record that distinction before changing more settings.
Don't delete contacts or repeatedly submit the same address as your first troubleshooting move. A fresh signup check gives you a cleaner description of the problem to investigate.
Once the welcome message arrives, make it useful. Mailmunch's Email Marketing page recommends a single clear call to action that guides the reader toward a relevant offer.
For the example in this checklist, the next step is Explore the collection. Open that link from the received email and check the destination—not just the button text in your editor.
If your form promises a specific resource or offer, make sure the welcome message actually explains how to access it. Keep the promise and the email aligned. Avoid introducing a coupon into your troubleshooting example unless you've already configured the real offer and checked its terms.
Leave the unsubscribe option available. Mailmunch's autoresponder guide explains that its unsubscribe link changes the contact's status to unsubscribed rather than deleting the subscriber from the list, and that follow-up emails aren't sent to that user.
If the checks don't resolve the problem, send a concise description through Mailmunch's Help Center. Include:
Describe what you observed rather than assuming a cause. “The address joined Store newsletter, but I couldn't find the welcome email” is more useful than “The automation is broken.”
Yes. Mailmunch's connection guide says the autoresponder audience should match the list selected for your form or landing page.
The autoresponder guide documents Campaigns → Create New Campaign → Automated Welcome Email.
No. The official guide documents SAVE DRAFT separately from Activate → START AUTORESPONDER.
Yes. Follow the main link from the received message and confirm that the destination delivers what you promised. Receiving the email is only part of the shopper's experience.
Start with one form, one intended list and one clear welcome message. Check the connection, review the email, activate the intended campaign and follow a new signup through to your store page.
Explore Mailmunch Email Marketing to put your captured leads to work with automated welcome emails.
Ayesha Ejaz is a passionate writer who loves diving into research to explore new topics and broaden her knowledge. With a keen interest in learning through writing, Ayesha crafts informative and engaging content across various subjects. You'll find her unwinding with music or challenging herself with word search puzzles when she's not writing.
Tags:


